
[Tutorial] How to Configure K8s RBAC? (Part 2)
Let's go from namespaced to Cluster-wide RBAC

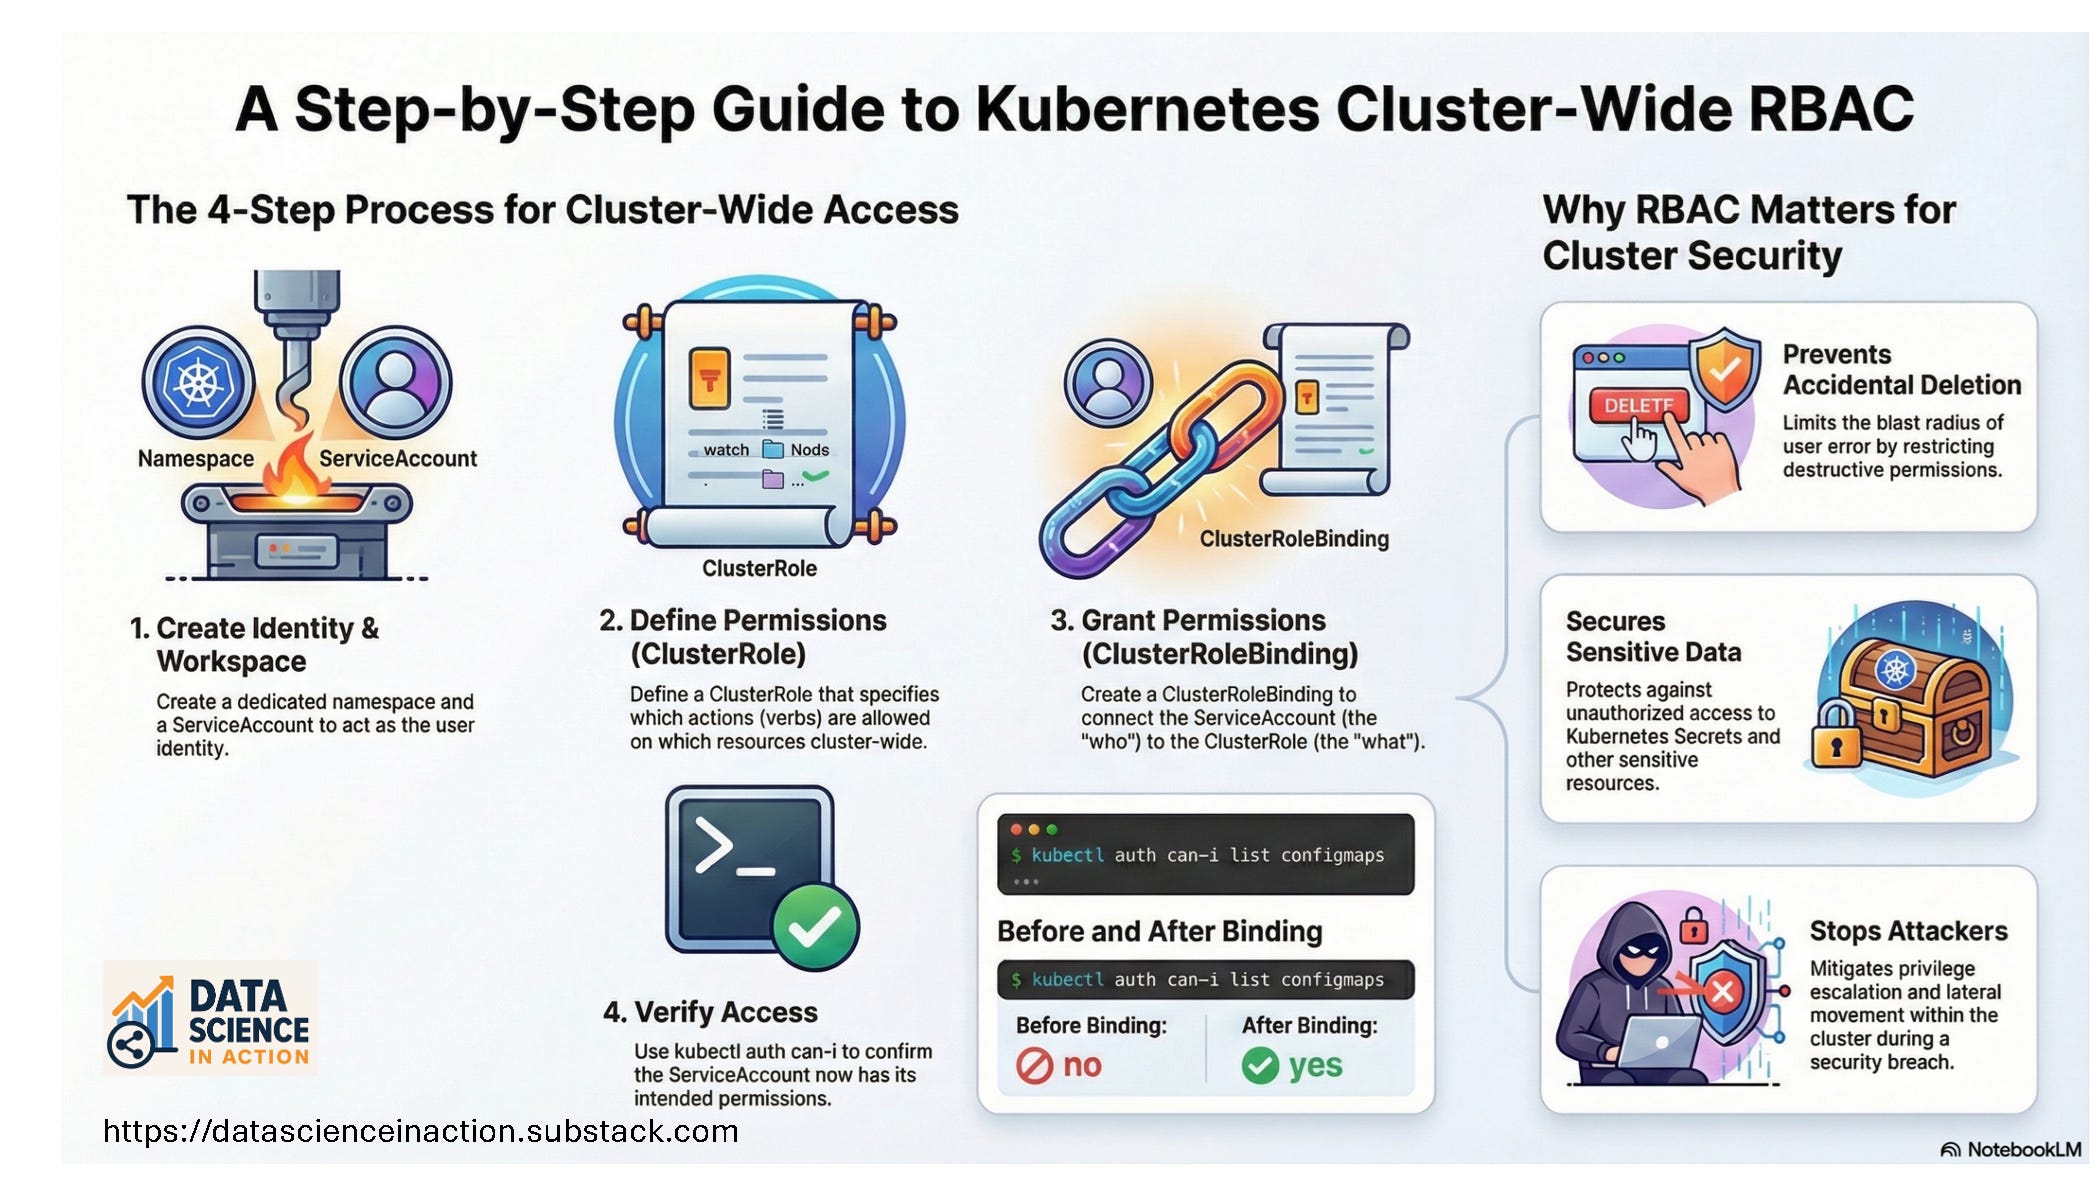
In the previous tutorial: [Tutorial] How to Configure K8s RBAC? (Part 1), we followed the first path tutorial of creating a User/ServiceAccount, Role, and RoleBinding. In this part, we will continue the tutorial for the second path: cluster-wide. We will create the User/ServiceAccount as we did in the previous part, then create ClusterRole, and the ClusterRoleBinding.
![[Tutorial] How to Configure K8s RBAC? (Part 1)](https://substackcdn.com/image/fetch/$s_!EYvM!,w_140,h_140,c_fill,f_webp,q_auto:good,fl_progressive:steep,g_auto/https%3A%2F%2Fsubstack-post-media.s3.amazonaws.com%2Fpublic%2Fimages%2F1fd2680a-6d2a-4b3f-89cc-b6864267acac_1536x1024.png)
In the next part, we will see how the Role will be assigned to a Deployment rather than a Pod.
Tutorial Steps
For this tutorial, we will use Killercoda to provision and prepare a cluster. Killercoda is a free educational platform that offers K8s playgrounds and extensive tutorials. You can sign up using your Gmail or GitHub account, or via other easy methods.
Goal:
Learn and verify K8s RBAC using ServiceAccounts, Roles/ClusterRoles, and Bindings.
What we will do:
Get the cluster nodes and the current context
Create a namespace for the lab
Create a user using ServiceAccount
Create a ClusterRole to grant scoped permissions
Create a ClusterRoleBinding to bind the ClusterRole to the ServiceAccount
Confirm access with
kubectl auth can-i